Clay Ground Rules: A Garden Path That Holds Its Line Through Winter
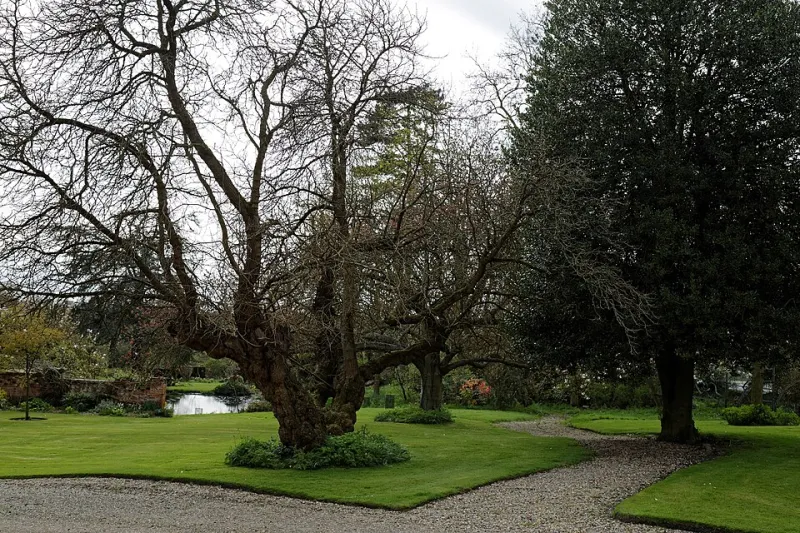
Photo: Acabashi, CC BY-SA 4.0, via Wikimedia Commons
If your garden sits on clay — and a fair slice of Britain does, from the Weald across the Midlands and up into the heavier glacial ground — you already know the routine. You lay a few stepping stones in spring, they look charming, and by February you're hopping between them over a trench of grey slurry that has somehow swallowed a border and half the lawn. Clay isn't a drainage problem you can fix with a bag of grit. It's a different set of rules, and a path either respects them or gets chewed up by them.
What clay is actually doing under your feet
Clay holds water rather than passing it. In a wet winter it swells and turns slick; in a dry summer it shrinks and cracks. Frost lifts it. Anything sitting on top of that movement — a brick, a stone, a timber round — gets rocked from below for months at a time.
That produces three predictable failures. The surface starts to rock, because the bedding has been pumped out by movement. The line sinks into a trench, because your feet push each stone deeper into saturated ground. Or water pools along the edge and carries the surface into the border, which is the messiest outcome and the hardest to undo.
Knowing which failure you're heading for tells you what to build.
Four surfaces, judged honestly on clay
Gravel is the cheapest way to a path that drains itself, and the fussiest to keep. Use a 20mm angular gravel rather than pea shingle — rounded stone migrates underfoot on soft ground. It needs a firm sub-base and a real edge, or the clay will swallow it a winter at a time.
Timber rounds are the romantic option: cheap, quick, and lovely when fresh. They will also rot, heave and tilt, and on clay they tilt faster. Treat them as a five-to-eight-year surface, not a permanent one, and set them on a bed of compacted grit rather than pushing them into soil and hoping.
Reclaimed brick is the middle path, and quality varies wildly. Hard, well-fired engineering bricks laid flat and tight will last decades. The soft, pale, frost-prone stock from an old garden wall will spall and crumble within a few winters. If you're buying reclaimed, ask what they came out of. Edge-on setts, where the bricks stand upright, cope with movement far better than bricks laid flat.
Stone setts are the long answer. Heavier, dearer, more effort to lay, but they can be lifted and re-bedded when the ground shifts instead of being replaced. On clay, the ability to take a path apart and put it back is worth a lot.
The base is the entire job
Everything above the sub-base is decoration. Dig out 100–150mm, deeper on the softest spots, and lay a geotextile membrane across the bottom — not to stop weeds but to stop clay pumping up into your clean stone.
Then bring in a graded crushed stone sub-base, 75–100mm, laid in two passes and compacted properly between them. A plate compactor from a hire shop for a weekend will do more for your path than any choice of surface material. Compact it wet if the clay is sticky, and check the level with a straight edge as you go, because you're building the fall in here, not later.
On badly drained clay, consider a shallow land drain along the upslope edge of the path, running to a soakaway or a lower part of the garden. It's a day's work with a spade and a trench, and it changes everything downstream.
Water needs a direction and a destination
A fall of about 1:60 along the path is enough to move water off without making it feel like a ramp. Add a slight cross-fall away from the house or the border. Then decide where the water ends up — a gravel-filled trench, a planted swale, a soakaway crate. What you mustn't do is send it over the boundary onto a neighbour's patio, which is a reliable route to a difficult conversation.
When a timber edge helps, and when it makes things worse
A timber edge is usually described as a neat finish. On clay it's a drainage decision.
Where it helps: holding gravel in place on the high side, defining a line so the path reads as a path rather than a spill, and keeping the border's soil from creeping onto your surface.
Where it hinders: on the low side of a sloped path, a continuous timber edge becomes a dam. Water backs up behind it, sits against the sub-base, and softens the whole structure. If you edge the downhill side, leave gaps or weep holes, and set the timber on a bed of compacted grit rather than soil, so it doesn't sink and cup.
Use pressure-treated softwood or oak. Leave a small expansion gap between lengths, because timber swells when it's wet — and on clay it will be wet.
A build order that works
- Mark the line with a hose, then look at it from an upstairs window before you dig.
- Strip turf and dig to depth, throwing spoil onto the borders rather than into a skip.
- Roll out the geotextile, overlapping the joins.
- Sub-base in two layers, compacted hard, fall built in.
- Edge on the high side; gap the low side.
- Bedding layer — sharp sand or fine grit for setts, grit for timber rounds.
- Lay the surface, checking level with a straight edge every few stones.
- Brush dry grit into the joints and leave it alone for a week.
Living with a path on clay
Accept movement. It's going to happen, and a path you can lift and re-bed in an afternoon is worth more than one that's theoretically immovable. Avoid mortar-jointing small stones, because rigid joints crack when the ground shifts. And plant generously alongside — thuggish, damp-tolerant things that will take up water and hide the occasional wobble.
Clay is hard work, but it's consistent. Build for what it does in January, not what it looks like in June, and the path will still be there when the ground finally dries out.